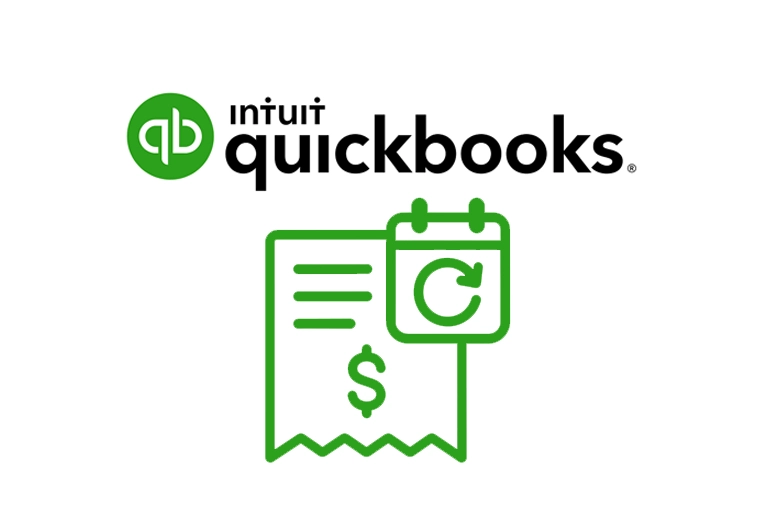
If you frequently handle recurring billing tasks, creating recurring invoices in QuickBooks Online is a powerful way to streamline your workflow. Whether you use QuickBooks Online, QuickBooks Desktop, or QuickBooks Enterprise, this core feature helps you automate invoicing for long-term clients, saving time and reducing the risk of missed invoices.
You charge a client $500 every month. Manually sending invoices takes time and risks delays. With QuickBooks Online's recurring invoice, set it once, and it auto-sends every month—no extra effort.
· Client receives invoices on time every month
· You never forget to bill or chase payments
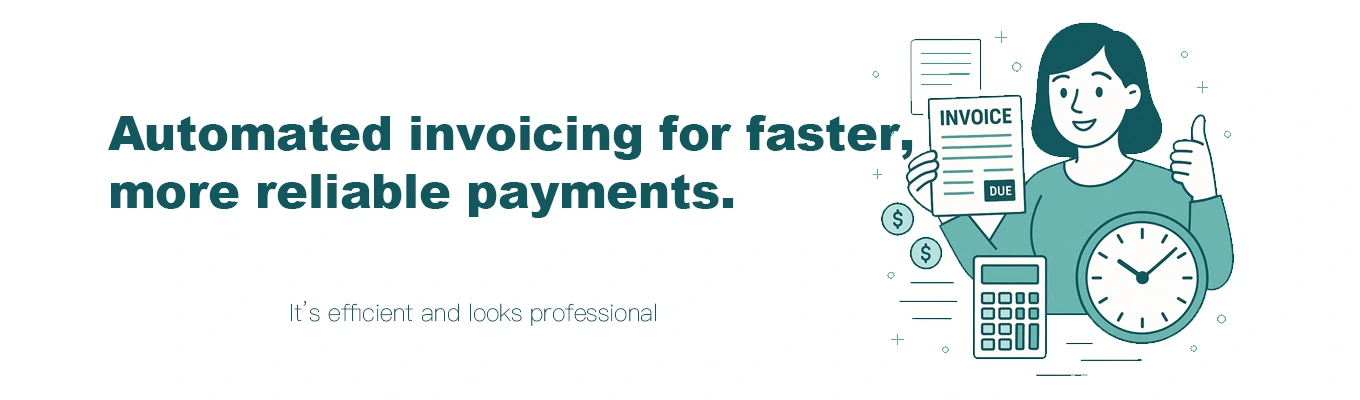
· It’s efficient and looks professional
1. Log into QuickBooks Online
Go to QuickBooks Online and sign in with your account.
2. Click on “+ New” > Invoice
This opens a new invoice form.
3. Fill in Customer and Invoice Details
Enter the customer name, items or services, amount, and due date.
4.Click “Make Recurring”
At the bottom of the invoice form, click “Make Recurring” to turn this into a recurring template.
5.et Recurring Schedule
Choose the type (Scheduled, Reminder, Unscheduled), interval (e.g., monthly), start date, and end date (if any).
6. Save Template
Click Save template to activate the recurring invoice.
✅ Tips
You can view and manage all recurring invoices via Settings > Recurring Transactions.
Use the "Scheduled" type to automate both creation and sending of invoices.
1. Go to Invoices Page
* Navigate to **Sales > Customers > Invoices
* Or click **Sales > All Sales** and filter by invoice type
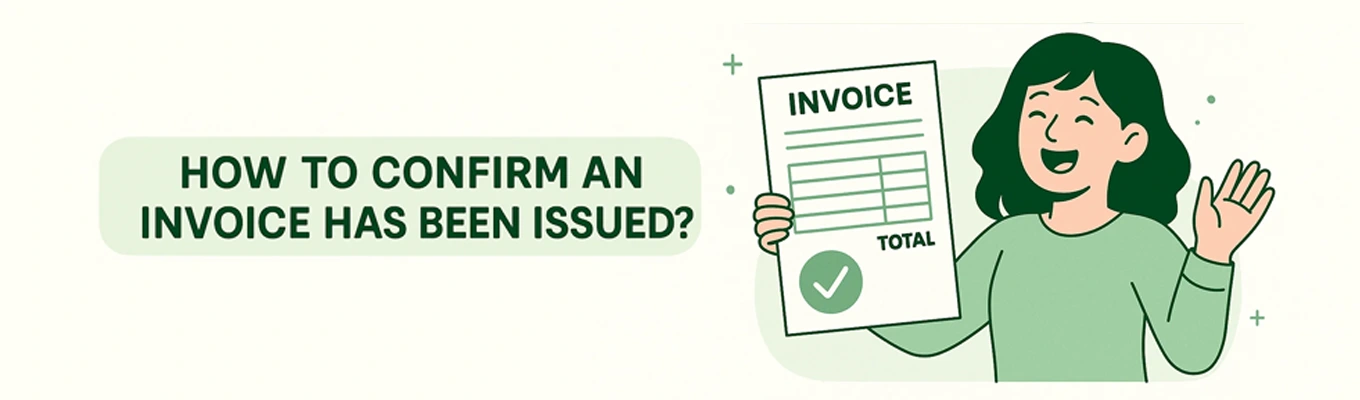
2. Check Invoice Status
* Sent: Invoice has been emailed to the customer
* Viewed: The customer has opened the invoice
* Paid: The invoice has been fully paid
* Draft: Not yet sent
* Scheduled: For recurring invoices, indicates it’s set to auto-generate
3. Review Activity Log
* Open any invoice, scroll down to see time-stamped activity (created, sent, viewed, paid)
4. Enable Notifications (Optional)
* Turn on email notifications to get alerts when customers view or pay invoices
Q1: Can I stop a recurring invoice at any time?
Yes. Go to Settings > Recurring Transactions and deactivate it.
Q2: Will customers receive invoices automatically?
Yes, if you choose “Automatically send emails.”
Q3: Can I set different schedules for each client?
Yes. Each template can be customized individually.
Q4: Is this feature free?
Yes, available in most paid QuickBooks Online plans and during trial.
Q5: Can I attach payment links?
Yes, with QuickBooks Payments enabled.
“Recurring invoices have saved me hours every month. I just set it once, and QuickBooks does the rest.”
— Diane L., Freelancer
“Great for managing retainer clients. I don’t need to worry about forgetting a bill anymore.”
— Mark J., Consultant
“Makes my business look much more professional. Clients love the consistency.”
— Sarah P., Agency Owner
Recurring invoicing is one of the best features in QuickBooks Online to automate your billing cycle. Set it up once, and let QuickBooks handle the rest—so you can focus more on growing your business.